Fiero
Saturday, July 08, 2006
Valve cover makeover
July 22, 2006
I finished with the rubbing compound and polishing compound. So it was time to tackle the engine compartment. The engine will be red so I wanted the valve covers a little different. They may not be to your liking but they look pretty snazzy to me.
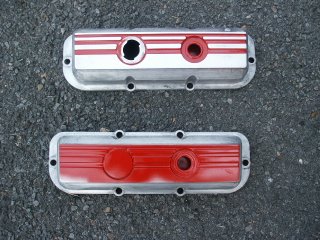
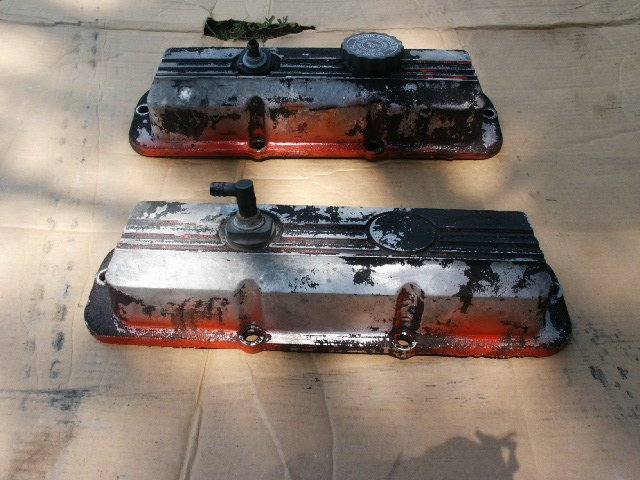
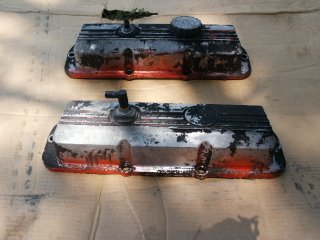 This is what they looked like when I pulled them off the car. Not a pretty sight.
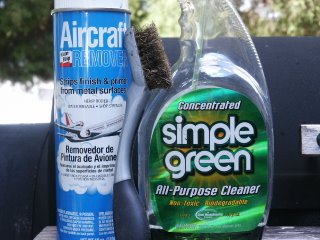 These are the products I used to clean the valve covers. KLEEN-STRIP brand Aircraft Remover paint stripper, SIMPLE GREEN brand all-purpose cleaner, and a small brass brush. First I used the Simple Green on the inside and outside to clean off the crud. After that I sprayed on the stripper, waited a few minutes and scrubbed with the brush.
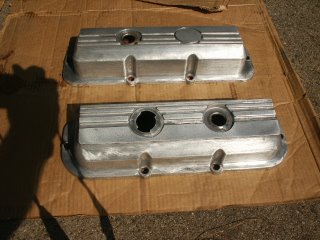
A second coat of stripper and they were looking great.
 I sanded them with 80 grit sandpaper until they were no longer dull.
I taped around the sides leaving the top exposed.
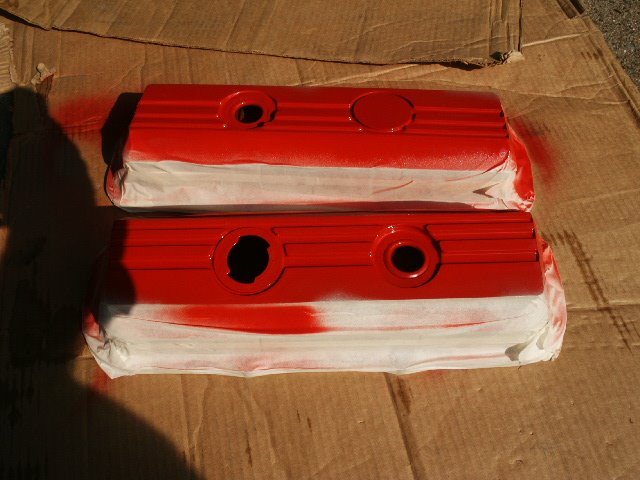
 I applied three coats of red spray paint.
 After it dried I sanded the tops until the only red left was in the grooves.
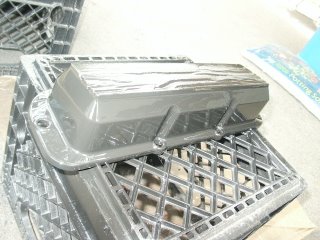 I taped about 4 inches on each end of all the grooves using my finger nail to get a good seal. Trimmed it off flush with the ends and then taped the whole top also trimmed at the edges. I then applied the black "wrinkle paint". This was the first time I had ever used wrinkle paint and wasn't to sure what to expect.
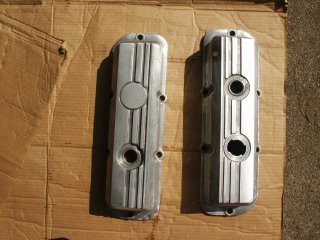
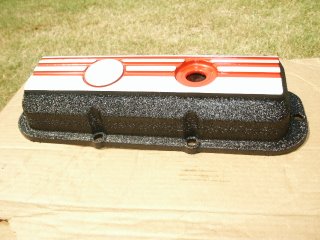 I think they turned out great. I also applied a light coat of clear on the sanded aluminum to keep it from tarnishing.
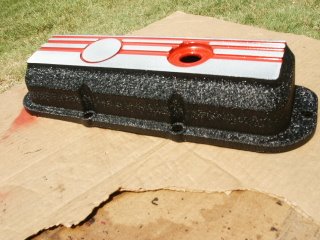 The engine is already painted and I can't wait to get these babies back on. After about three days of 100 degree they should be ready.
I finished with the rubbing compound and polishing compound. So it was time to tackle the engine compartment. The engine will be red so I wanted the valve covers a little different. They may not be to your liking but they look pretty snazzy to me.
 This is what they looked like when I pulled them off the car. Not a pretty sight.
 These are the products I used to clean the valve covers. KLEEN-STRIP brand Aircraft Remover paint stripper, SIMPLE GREEN brand all-purpose cleaner, and a small brass brush. First I used the Simple Green on the inside and outside to clean off the crud. After that I sprayed on the stripper, waited a few minutes and scrubbed with the brush.
A second coat of stripper and they were looking great.
 I sanded them with 80 grit sandpaper until they were no longer dull.
I taped around the sides leaving the top exposed.
 I applied three coats of red spray paint.
 After it dried I sanded the tops until the only red left was in the grooves.
 I taped about 4 inches on each end of all the grooves using my finger nail to get a good seal. Trimmed it off flush with the ends and then taped the whole top also trimmed at the edges. I then applied the black "wrinkle paint". This was the first time I had ever used wrinkle paint and wasn't to sure what to expect.
 I think they turned out great. I also applied a light coat of clear on the sanded aluminum to keep it from tarnishing.
 The engine is already painted and I can't wait to get these babies back on. After about three days of 100 degree they should be ready.
posted by squire # 6:23 PM 
Comments:
<< Home
Great job on the valve covers. If the rest of your restoration work comes out as good as that, you'll end up with a Fiero too cherry to use as a daily driver!
Post a Comment
# posted by  : 5:09 AM
: 5:09 AM<< Home
Archives
![]()