Fiero
Tuesday, July 11, 2006
Reverse blog
I am trying to blog from the top down. I'm back dating the entries to get them to post at the bottom. So don't worry about the date of blog. I will use the title as the date when a date is needed. Hope this works that way you can start at the top and read down.
Sunday, July 09, 2006
Found a project
I have been wanting a project that would be fun to drive, easy on gas, sporty, cute and inexpensive to purchase. I considered a Miata but the purchase price was a little high. I needed something cheap. The Fiero seemed a good candidate. I needed to find one that was close that I could just drive home.
Several on e-bay were within 300 to 400 miles but I didn't want to risk driving a cheap e-bay purchase that far.
Finally this one appeared and it was about 50 miles from home.
I bought my 1985 Fiero on e-bay.
Here is the e-bay add:
Vehicle Description
This is a 1985 Pontiac Fiero SE. It has a 2.8 liter V-6 with a 4 speed transmission. It is a rust free southern car. The Fiero runs and drives good. Car has new 16 inch tires. New holley carb. It has a new Acell distributor plugs and wires. The body is straight with no major dings or dents. The interior is in great shape for its age. Odometer shows 85000 miles but could be 185000 I am not sure. Things that need attention are as follows. Paint is dull could use buffing or repainted. Parking brake cable is broke. AC is not working all hooked up just not working. Engine has minor leaks due to age. Clutch safety switch only works part of the time. This would make a great first car, or a good project car. Very light and Quick. Ask any questions before bidding as I may have missed a detail important to you. Happy Bidding.
The little car runs, drives and rides very well. It has a remote starter switch in the engine compartment. It has been repainted and the paint is very dull but with some work it will be ok for a daily driver.
Several on e-bay were within 300 to 400 miles but I didn't want to risk driving a cheap e-bay purchase that far.
Finally this one appeared and it was about 50 miles from home.
I bought my 1985 Fiero on e-bay.

Here is the e-bay add:
Vehicle Description
This is a 1985 Pontiac Fiero SE. It has a 2.8 liter V-6 with a 4 speed transmission. It is a rust free southern car. The Fiero runs and drives good. Car has new 16 inch tires. New holley carb. It has a new Acell distributor plugs and wires. The body is straight with no major dings or dents. The interior is in great shape for its age. Odometer shows 85000 miles but could be 185000 I am not sure. Things that need attention are as follows. Paint is dull could use buffing or repainted. Parking brake cable is broke. AC is not working all hooked up just not working. Engine has minor leaks due to age. Clutch safety switch only works part of the time. This would make a great first car, or a good project car. Very light and Quick. Ask any questions before bidding as I may have missed a detail important to you. Happy Bidding.
The little car runs, drives and rides very well. It has a remote starter switch in the engine compartment. It has been repainted and the paint is very dull but with some work it will be ok for a daily driver.
Saturday, July 08, 2006
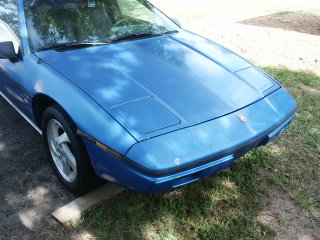
July 4, 2006 An Overview
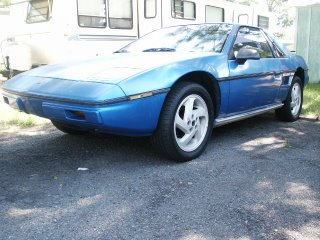
This is the picture from the E-bay add. Doesn't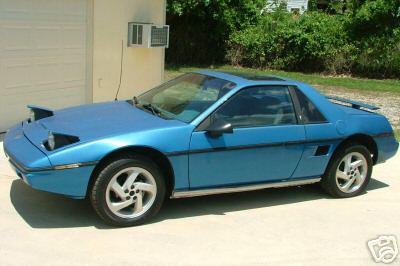 look to bad.
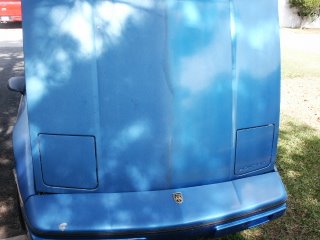
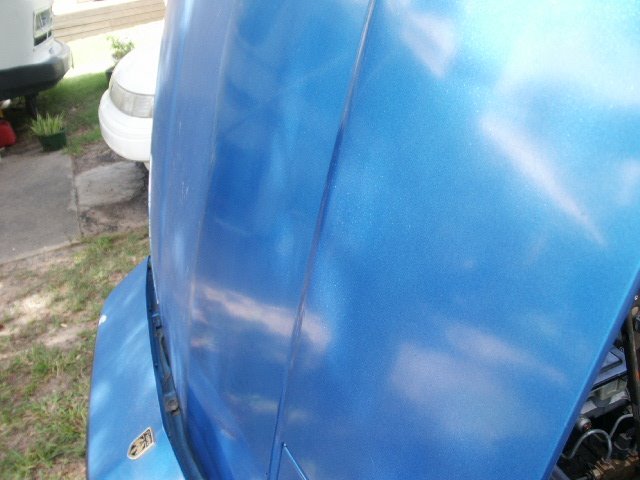
At home you can see the shine leaves a little to be desired.
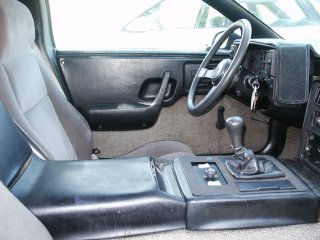
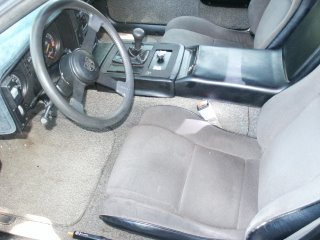
The inside looks pretty nice for a 20 year old car.
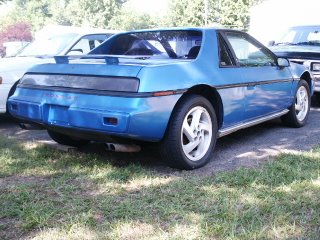
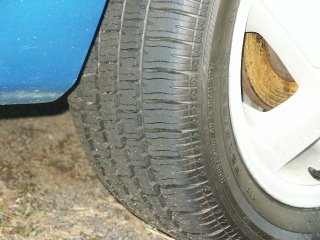
It has new P205/55/16 tires. The wheels say Pontiac but I don't know what they came from.
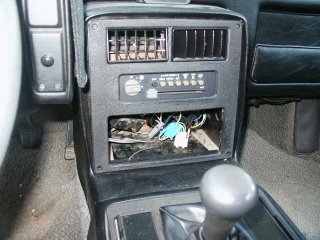
The radio is missing. It had the usual deformities from the sun.
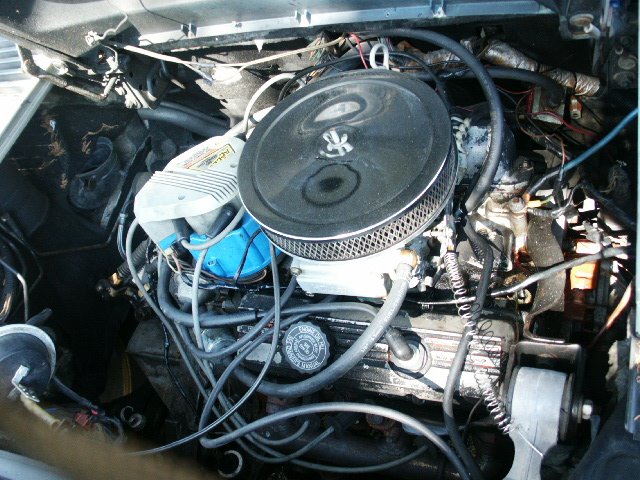
The V6 has a holley 4 barrel carb.
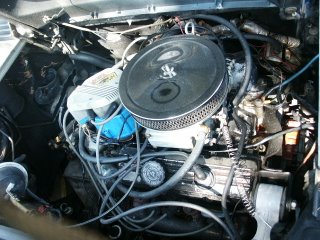
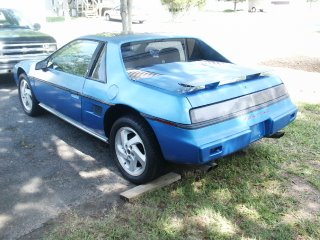
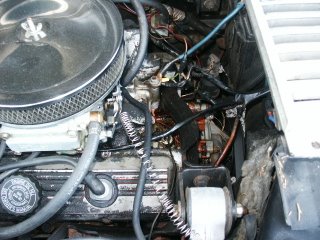
I plan to "tidy up" the engine compartment. It needed a good cleaning and some paint.

It also needs steel gas lines and the wiring loomed and tied. All in good time. I'm not in any hurry because the tinkering is the reason I bought the Fiero.

I have a few more pictures and as I "touch" different areas I will show before and after pictures.
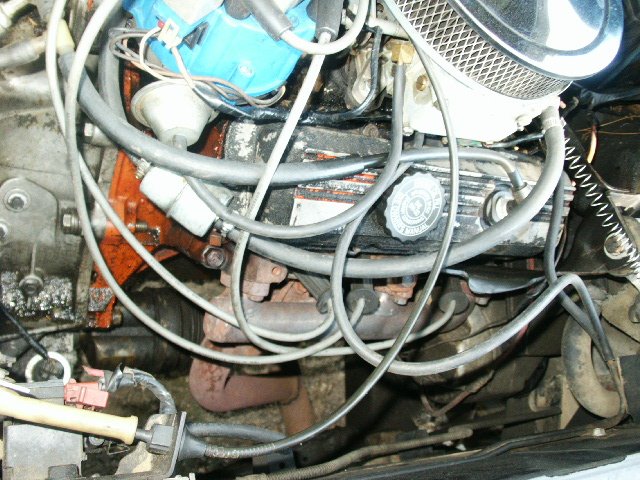
The "oil leak" turned out to be the o-ring gasket on the distributor. Easy $2 fix.
 look to bad.
At home you can see the shine leaves a little to be desired.


The inside looks pretty nice for a 20 year old car.


It has new P205/55/16 tires. The wheels say Pontiac but I don't know what they came from.

The radio is missing. It had the usual deformities from the sun.

The V6 has a holley 4 barrel carb.
I plan to "tidy up" the engine compartment. It needed a good cleaning and some paint.
It also needs steel gas lines and the wiring loomed and tied. All in good time. I'm not in any hurry because the tinkering is the reason I bought the Fiero.

I have a few more pictures and as I "touch" different areas I will show before and after pictures.
The "oil leak" turned out to be the o-ring gasket on the distributor. Easy $2 fix.
PART 1 neutral safety switch?
The first order of business was to fix the clutch safety switch. Upon checking the switch I found it to be working properly.I check everything I know to check and can find nothing wrong. I suspect a faulty ignition switch. After replacing the switch, it still will not start. A lot of head scratching and tracing wires and I still can't figure it out.I could run the wires and put a starter button up front but I really don't want to do that. The more I try the key switch the harder it get to turn.Thinking I might have installed it in such a way that it is binding up, I decide to pull the steering column again. when I take the switch off and look I can see it is faulty. Back to the parts store and when I replace it. Bingo, it was the ignition switch all along. The bad one had cost several hours of troubleshooting that was not necessary.
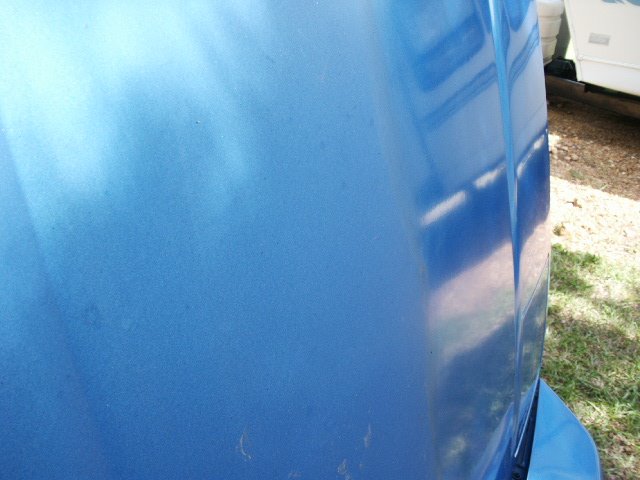
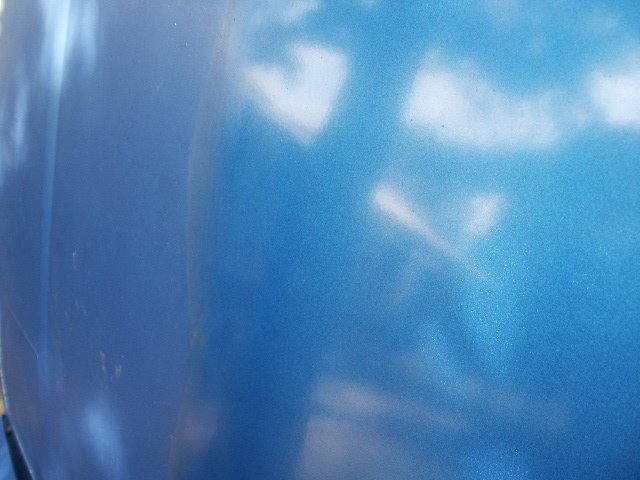
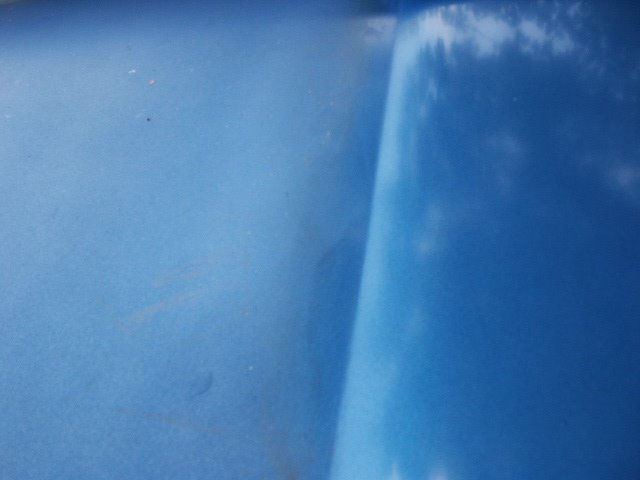
Polishing
These pictures really do not capture the difference in the paint after polishing it.


I am using Dupont Rubbing Compound and Dupont Polishing Compound.
Two application of rubbing compound followed by two applications of polishing compound. Doing about a square foot at the time. After I finish the entire car I will go over the whole thing again with polishing compound to even out the shine before applying a final coat of a good quality wax. So far it is turning out better than I had hoped for.
Valve cover makeover
July 22, 2006
I finished with the rubbing compound and polishing compound. So it was time to tackle the engine compartment. The engine will be red so I wanted the valve covers a little different. They may not be to your liking but they look pretty snazzy to me.
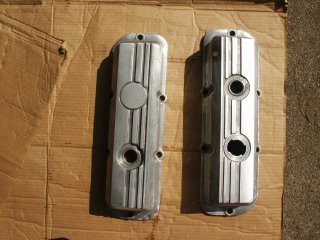
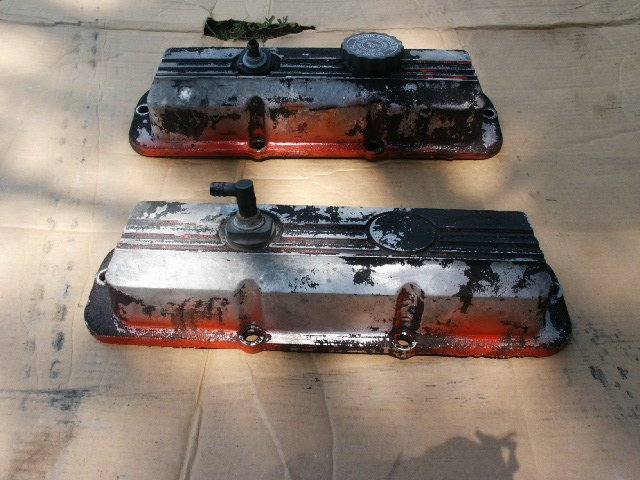
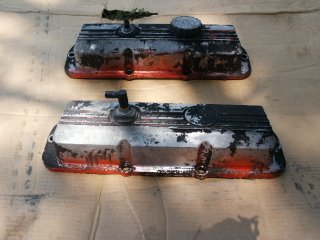 This is what they looked like when I pulled them off the car. Not a pretty sight.
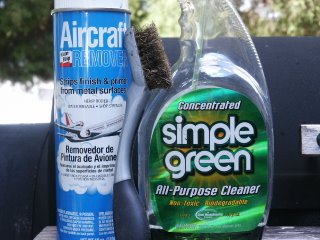 These are the products I used to clean the valve covers. KLEEN-STRIP brand Aircraft Remover paint stripper, SIMPLE GREEN brand all-purpose cleaner, and a small brass brush. First I used the Simple Green on the inside and outside to clean off the crud. After that I sprayed on the stripper, waited a few minutes and scrubbed with the brush.
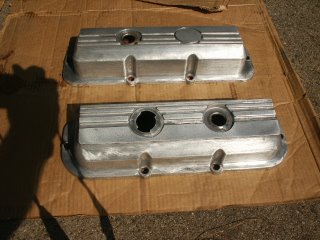
A second coat of stripper and they were looking great.
 I sanded them with 80 grit sandpaper until they were no longer dull.
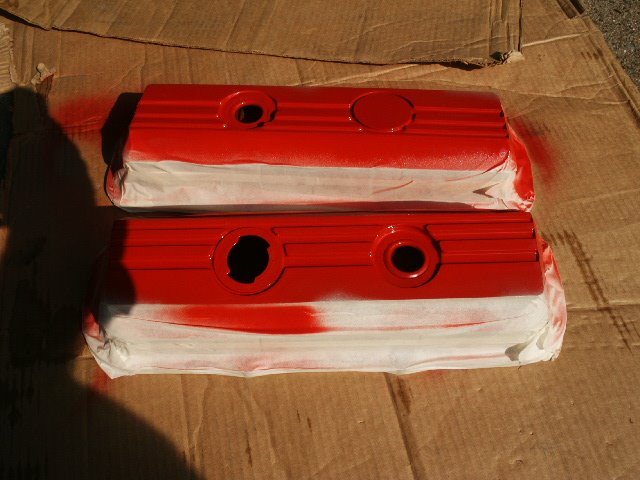
I taped around the sides leaving the top exposed.
 I applied three coats of red spray paint.
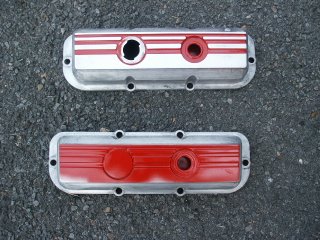 After it dried I sanded the tops until the only red left was in the grooves.
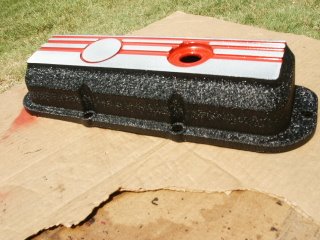
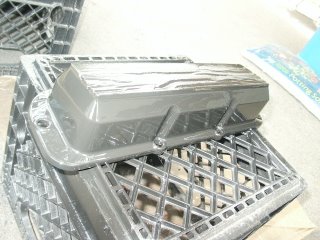 I taped about 4 inches on each end of all the grooves using my finger nail to get a good seal. Trimmed it off flush with the ends and then taped the whole top also trimmed at the edges. I then applied the black "wrinkle paint". This was the first time I had ever used wrinkle paint and wasn't to sure what to expect.
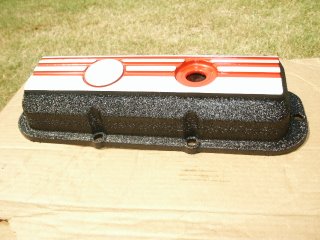 I think they turned out great. I also applied a light coat of clear on the sanded aluminum to keep it from tarnishing.
 The engine is already painted and I can't wait to get these babies back on. After about three days of 100 degree they should be ready.
I finished with the rubbing compound and polishing compound. So it was time to tackle the engine compartment. The engine will be red so I wanted the valve covers a little different. They may not be to your liking but they look pretty snazzy to me.
 This is what they looked like when I pulled them off the car. Not a pretty sight.
 These are the products I used to clean the valve covers. KLEEN-STRIP brand Aircraft Remover paint stripper, SIMPLE GREEN brand all-purpose cleaner, and a small brass brush. First I used the Simple Green on the inside and outside to clean off the crud. After that I sprayed on the stripper, waited a few minutes and scrubbed with the brush.
A second coat of stripper and they were looking great.
 I sanded them with 80 grit sandpaper until they were no longer dull.
I taped around the sides leaving the top exposed.
 I applied three coats of red spray paint.
 After it dried I sanded the tops until the only red left was in the grooves.
 I taped about 4 inches on each end of all the grooves using my finger nail to get a good seal. Trimmed it off flush with the ends and then taped the whole top also trimmed at the edges. I then applied the black "wrinkle paint". This was the first time I had ever used wrinkle paint and wasn't to sure what to expect.
 I think they turned out great. I also applied a light coat of clear on the sanded aluminum to keep it from tarnishing.
 The engine is already painted and I can't wait to get these babies back on. After about three days of 100 degree they should be ready.
Repairs
September 26, 2006
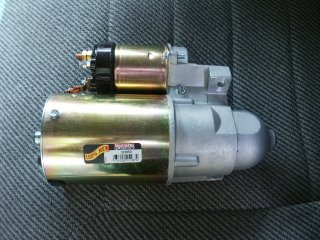
When I bought FLINTSTONE (my name for my Fiero) , I knew the starter was dragging. I did not want a rebuilt starter so I had shop a little to find a brand new starter. I could had bought a rebuilt starter with a lifetime warranty for about one-third the price of a new one. A hotrod engine puts a lot of stress on the starter and I just felt better putting on the new starter. Plus the front housings get worn and rebuilt starters will not always seat to the block properly.
Another real problem area was the fuel pump. Fuel injected engines have a high pressure electric fuel pump in the gas tank. When the key is on, current is supplied to the fuel pump that incorporates a safety device to stop the flow of gas when the engine is not running.
My carburetor engine had the proper low pressure fuel pump but was wired direct with no safety device. Plus the fuel pump was just a couple inches from the exhaust manifold. I replaced the fuel pump with a new pump that is wired thru an oil pressure activated safety switch. I also located it well away from any heat source.
I wasn't pleased with the new fuel pump and felt it was not pumping as it should even though it pumped enough to supply the engine. Yesterday the new pump failed and after I installed the new one, I realized that the first one was indeed defective.
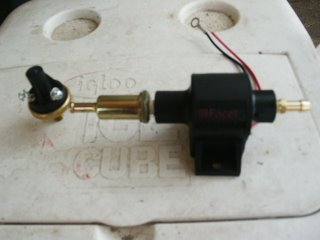 Now in less than 5 seconds (more like 2) the pump will achieve enough pressure to cycle it off as it should.
I also was not pleased with the door spring that was used for the throttle return
or the unsightly gas line draping over the engine.
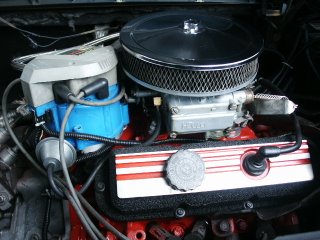 These pictures shows the throttle return spring bracket that I made to hold the double-spring return. It also shows the valve covers and engine painted after about 500 miles of driving, plus you can't see the gas line because I routed it behind the carb with a stainless braided hose. Most of the wires are now "loomed" and I just have a few more visual things to address. Overall it is looking rather nice.
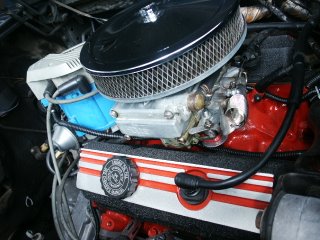
When I bought FLINTSTONE (my name for my Fiero) , I knew the starter was dragging. I did not want a rebuilt starter so I had shop a little to find a brand new starter. I could had bought a rebuilt starter with a lifetime warranty for about one-third the price of a new one. A hotrod engine puts a lot of stress on the starter and I just felt better putting on the new starter. Plus the front housings get worn and rebuilt starters will not always seat to the block properly.

Another real problem area was the fuel pump. Fuel injected engines have a high pressure electric fuel pump in the gas tank. When the key is on, current is supplied to the fuel pump that incorporates a safety device to stop the flow of gas when the engine is not running.
My carburetor engine had the proper low pressure fuel pump but was wired direct with no safety device. Plus the fuel pump was just a couple inches from the exhaust manifold. I replaced the fuel pump with a new pump that is wired thru an oil pressure activated safety switch. I also located it well away from any heat source.
I wasn't pleased with the new fuel pump and felt it was not pumping as it should even though it pumped enough to supply the engine. Yesterday the new pump failed and after I installed the new one, I realized that the first one was indeed defective.
 Now in less than 5 seconds (more like 2) the pump will achieve enough pressure to cycle it off as it should.
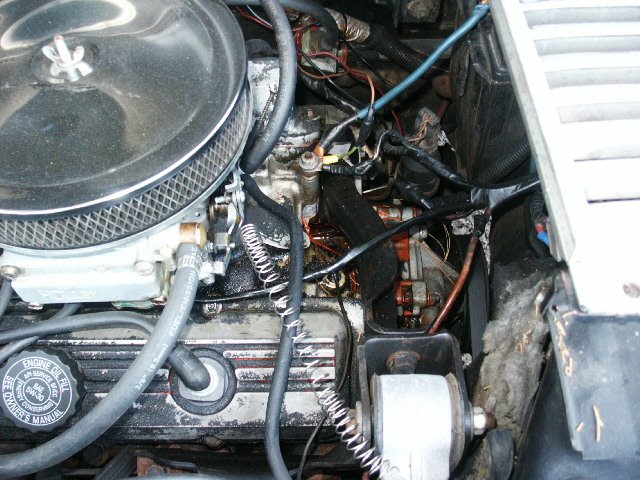
I also was not pleased with the door spring that was used for the throttle return
or the unsightly gas line draping over the engine.
 These pictures shows the throttle return spring bracket that I made to hold the double-spring return. It also shows the valve covers and engine painted after about 500 miles of driving, plus you can't see the gas line because I routed it behind the carb with a stainless braided hose. Most of the wires are now "loomed" and I just have a few more visual things to address. Overall it is looking rather nice.
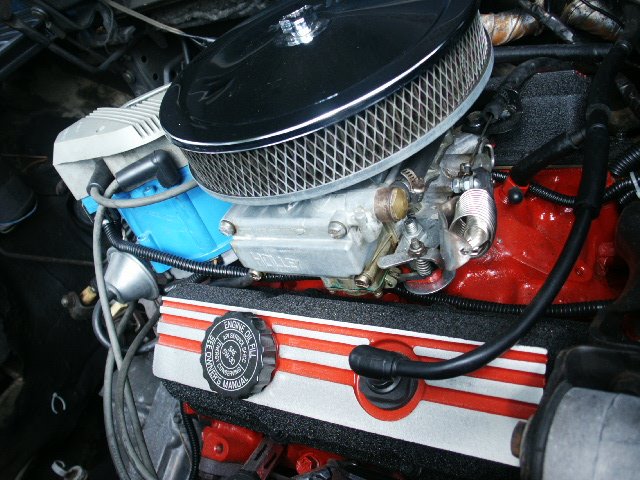
Archives
![]()